The Idea
We've all seen the beautiful silk banners flowing in the breeze, decorated with the arms of their owner. This was what I had in mind when starting this project. Having done a lot of work with silk dyes using wax resists, I imagined that making the leap into gutta resist and silk paints instead wouldn't be too far of a stretch. I was right :) I ordered supplies from Dharma Trading, they have a fabulous starter kit that contains 30 colors, brushes, droppers, and a few bottles of resist and is fabulous for someone getting started. The brushes could be a higher quality, but overall I was very pleased with everything in the kit.
Testing the Theory
I decided that the best course of action would be to familiarize myself with the new materials, get a good idea of all the colors I had available and what they looked like, and test the heat setting process. I busted out my embroidery loop and a measure of silk Habotai and went to town :)


I measured out 1 inch by 6 inch rectangles and lined them with gutta. The numbers correspond to the colors in the order they are listed on the invoice for the starter kit. Dharma was kind enough to put them into a nice organized color palette for me ahead of time :) I did them in sections of 7 as that's about how much would fit in my loop at any given time. Once they were dried, I drew a smaller section and smeared circles of the different colored resists that were also ordered. I then painted around them with the black dye to show off what they looked like when used as a resist, and make sure they held lines as well as the black gutta does.
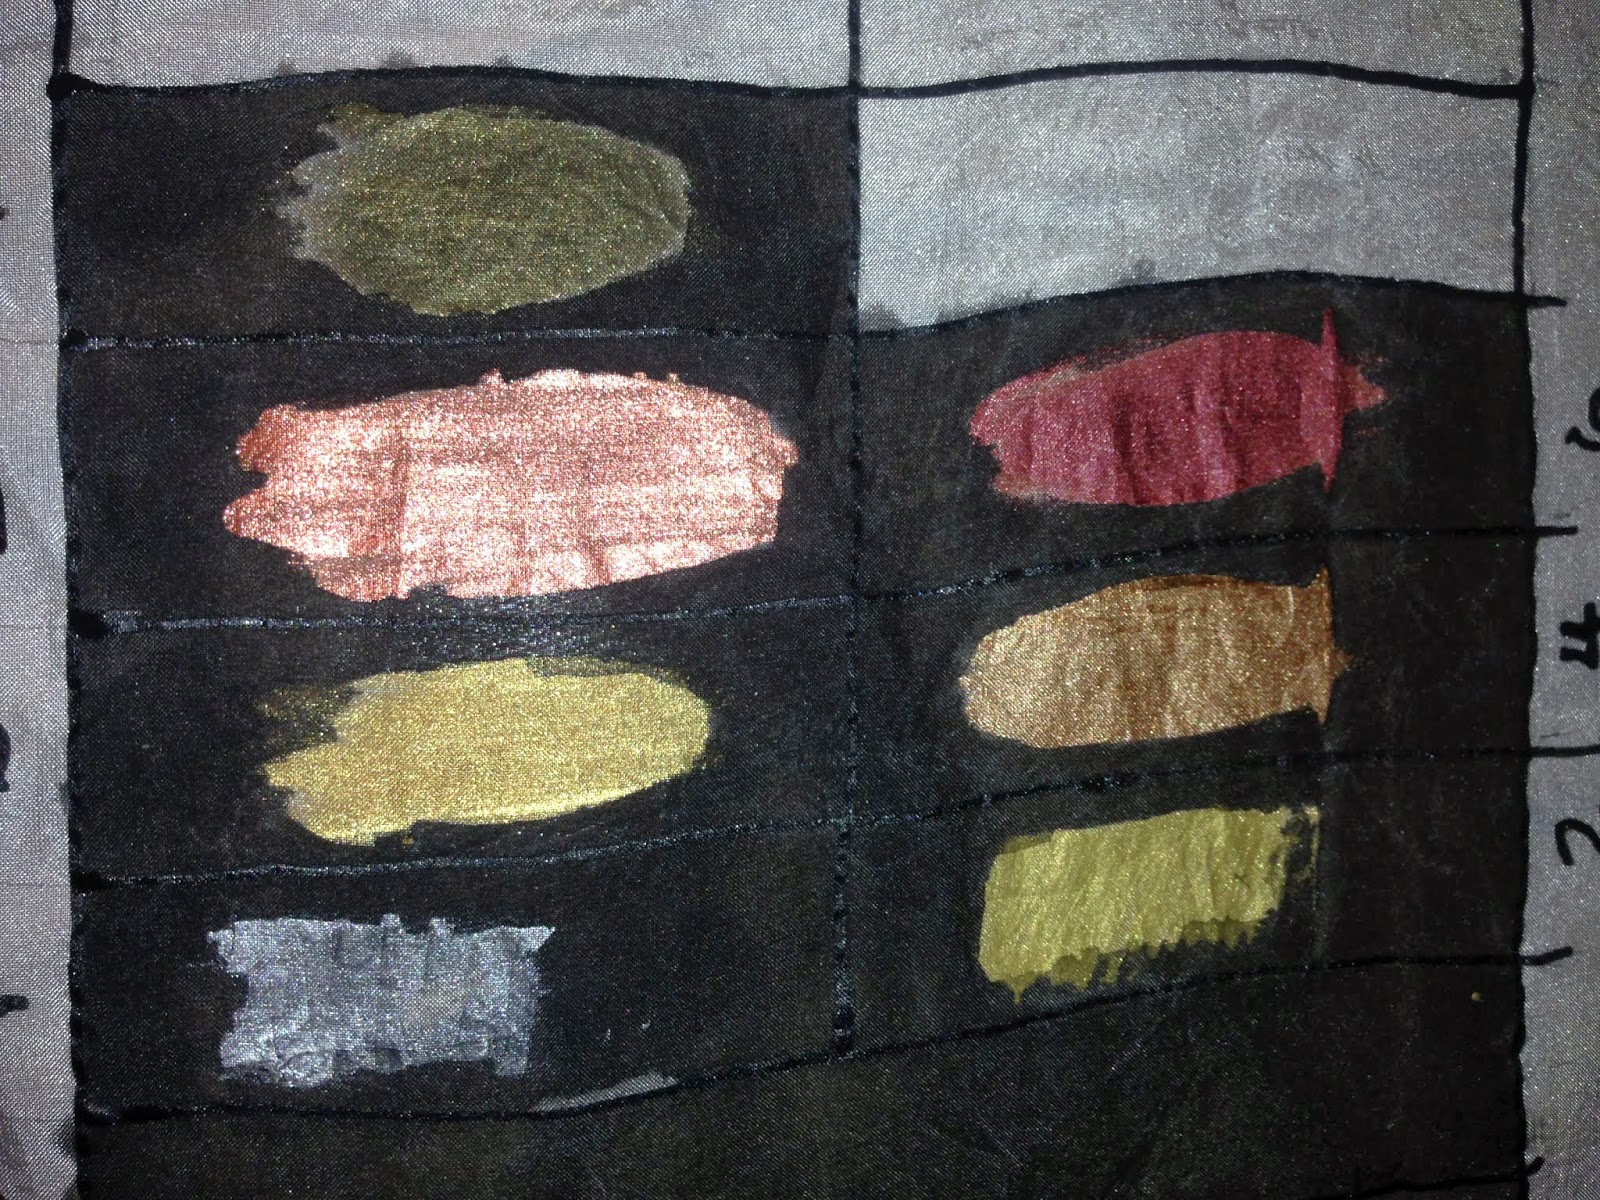
Here's the full spectrum now it's finished. I was really pleased with how the colors came out. Under advise from another member of our Kingdom, THL Milesenda de Bourges, I ironed the silks under a towel, tossed them in the dryer as high as it would go, and then ironed them again. Bear in mind I had already hot-washed and hot-dried all my silk so that it would pre-shrink before I start the banner making process.

Building the Frame
The next step in the project was to build a frame to stretch the banner on. This thing is huge, and awkward, and huge. About $40 and three trips to Home Depot later, I had my frame assembled. The uncut piece across the top serves as a rest for my arm. It leans across the banner once it's mounted without touching it anywhere, and gives me something to lean on when I'm painting the banners instead of the silk itself.

Laying out and Painting the Design
I mounted the silks up with small binder clips (butterfly clips) and rubber bands. It worked -way- better than I thought it was going to. The next step was to trace the pattern onto the silk. I didn't have any tape at home so this part was kindof improvised upon, and I ended up drawing the majority of it freehand. It came out really nice though, and I'm pleased with it. I drew in mechanical pencil as I didn't have an old-fashioned regular pencil, and next time I will make sure to find one. It was very faint and hard to see the pencil drawing, so I didn't bother taking a picture of it. However, after the gutta was painted on it was quite pretty and easy to see :)


Then, I got some towels, a pillow on the ground, and started painting. I was able to get the entire thing painted in one evening. I also opted for decorating the black fish with gold scales after it was painted, adding some character. It took a little bit of extra time, but gave it a really fancy look. Also - everyone I have shown these photos to has commented about my "bra" sitting on the couch. It's a bathing suit top, I promise :)


Below you can see the fish after the gold gutta was drawn on top of the black silk. It doesn't show entirely through on the other side, but enough to get an idea that they are supposed to be scales. The picture of the right below shows where I lined the large areas with glair made from raw eggs. This will help the paint coat evenly and prevents bleeding.


Finished product!

No comments:
Post a Comment