Tuesday, July 17, 2012

Corset Finished and New Commissions

Well, the pair of bodies is finally almost finished. I need to reinforce the lace holes and add shoulder ties, and then it's ready to wear. It was a serious project but I'm glad to be done with it and looking forward to wearing it. I'll snap a finished picture of it here soon. I put all the boning in and got it on for a test fit, safety pinning the straps down. I decided after I had it on and looked at it some that I had originally cut my boning a little too long, I thought they might be a bit too close to the seam edge after finishing so I trimmed them back. After taking about a 1/4in off each boning strip, it was time to sew the entire thing shut. I used a backstitch with buttonhole thread to sew the edges together. Below you can see the backstitching around the edge, and then I've tacked on the bias tape to one side of it.


After the entire thing was sewn around on one side with bias tape, I was ready to flip it over and start finishing the outside. This piece was attached by whipstitching it on the inside first. Next time I'll open the bias tape all the way and straight stitch it on the outside so that the stitches are hidden in the fold. Learning experience ;-)

There's the entire thing with the outside stitched down. Below you can see what is the outside, with much smaller and a little neater stitching as that side is visible.
I'm glad to be done with this project, or at least mostly done. There's probably 30 hours or so of sewing into it while sitting on the couch, driving in the car or on my breaks at work.

Next up is more work on the over gown, which I'm dying to get finished. I've currently got two commissions which I'm looking forward to working on, although one of them is taking precedence over my gown at the moment. The first project is one that I can take a little more time with, it will be a Norse style banner with an appliqued raven. The second is a reproduction of a Zulu coat for Dragoncon this year. It's very blatantly based off a British Redcoat, but with a bit more embellishments. 


SO. Wish me luck ;-)

~E

Wednesday, July 4, 2012

The Red Dress

After my first little hand sewing project, a short shoulder cloak with a small hood, I realized that hand sewing really isn't the end of the world. I had previously bought some fabric and trim to start a late period Spanish gown, and decided I would try and hand sew the entire outfit. The dress is inspired by one of Anne of Austria's gowns, when she reigned as Queen of Spain. The portrait it is based on was painted by Alonso Sanchez-Coello in 1571.

The Spanish doublet style front, and false sleeves are a look I find very flattering, and as I wasn't able to get any extra yardage of fabric I opted for that cut, as the sleeves are very conservative in terms of how much fabric they use. I selected a very pretty burgundy and sage green beaded trim, with gold embroidered trim edging the beaded trim to give a similar look to that in the portrait. I am very much looking forward to seeing the progress on this beast as it comes together!

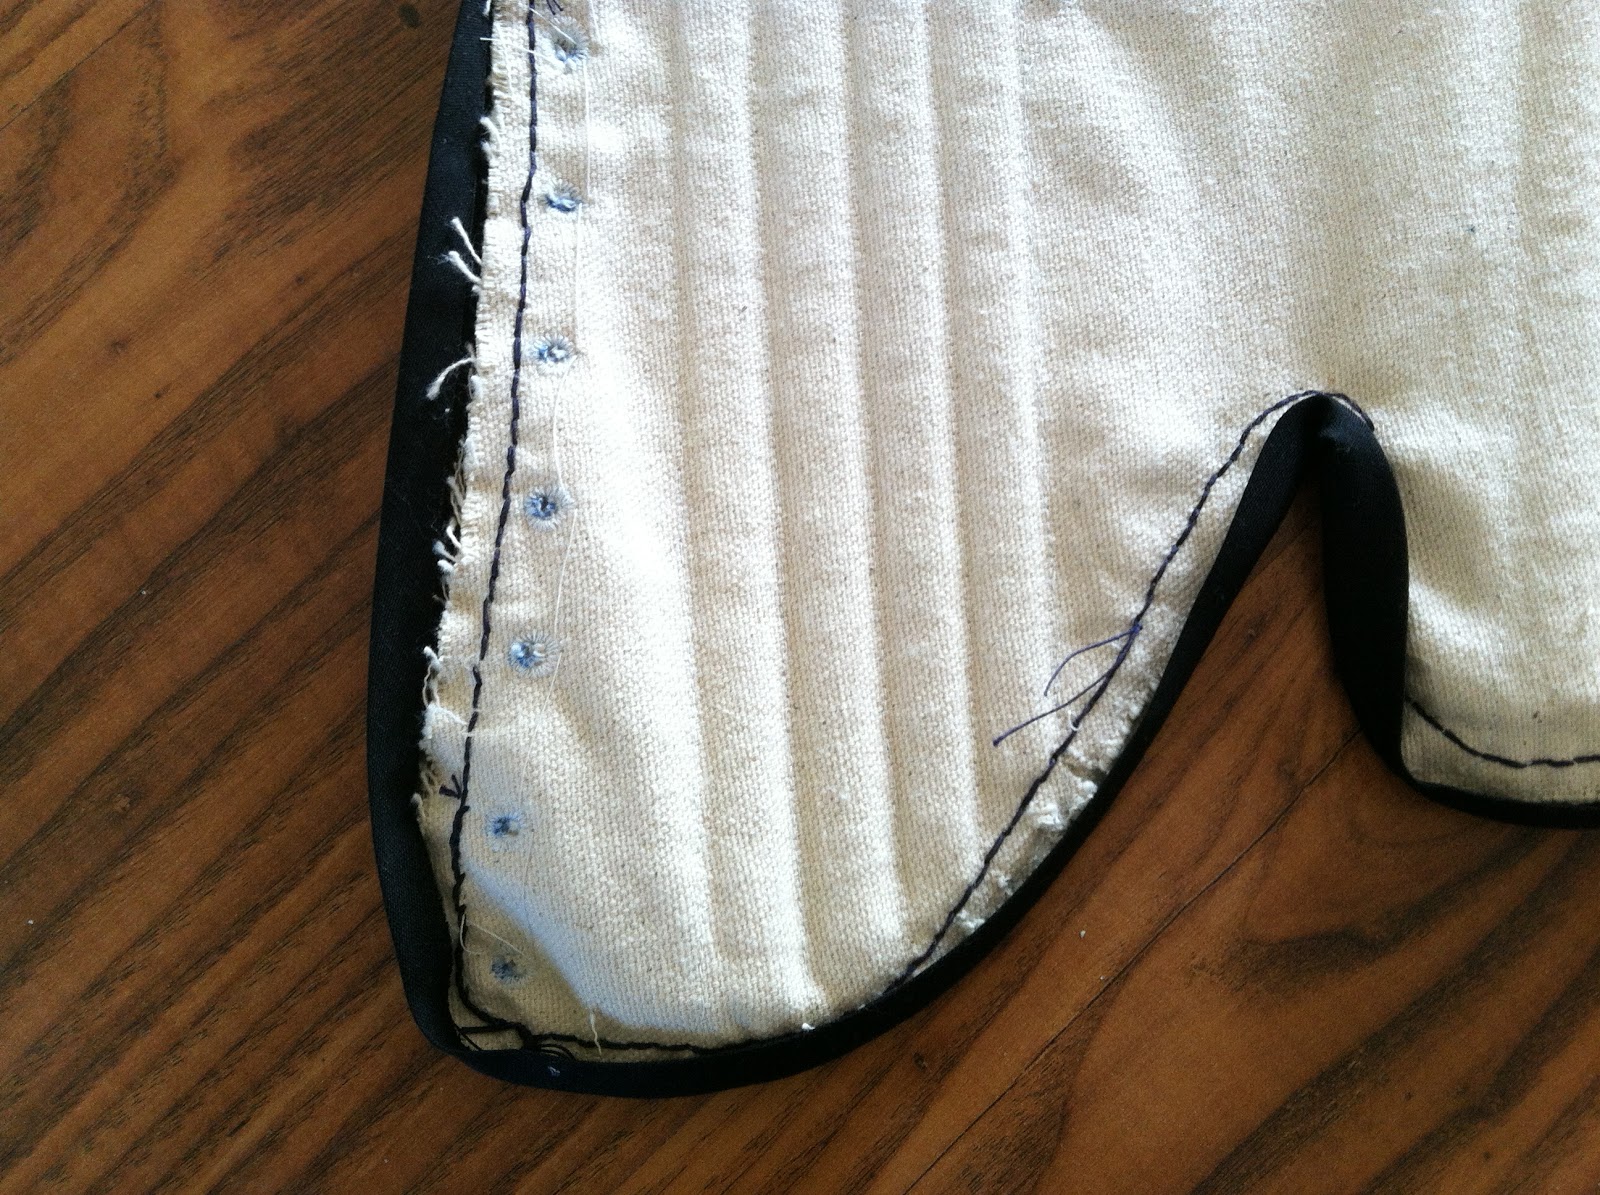
After drafting the pattern with much assistance from my Laurel, and much erasing as I am apparently not great at measuring, I was ready to get started. We figured that with careful cutting I would have enough fabric to cartridge pleat the skirt onto the bodice, and decided on a pattern for trim application.

I started working on the trim application a few days ago, and I'd say have about 15 hours of sewing into this dress so far. I decided on a chevron pattern as the trim is costly, and this is my first attempt. Here is the front of the bodice:
It was a trick getting the edges to line up, and deciding what angle and how much space in between for the chevrons. Because they extend to the seam line on the side of the bodice, I'll have to sew coordinating ones along the back too. Below is the main trim before the gold is added.
And another after sewing on the two pieces of gold thread. Both trims were hand stitched on using a whip stitch, evenly spaced along the edges of the main trim, and down both sides of the gold trim catching the thread in each loop. Very time consuming, but has been a good process so far. I'm using just a basic sewing needle, and Coats & Clark All Purpose cotton thread, stiffened with beeswax. There appears to be a tiny bit of puckering along the trim lines but I'm hoping that will clear up as soon as it's ironed.

So far I have the right side of the doublet completed, and the thick trim on the left side. Hoping to get both front sides finished tonight but we'll see how that goes.

Total sewing time to date: About 15 hours

In the beginning...

Well, here we go. My first attempt and keeping a costuming blog, or rather any blog at all for that matter. I've been in the Society for Creative Anachronism for a few years now, and have been attempting to keep track of my sewing and costuming projects since I started. I've come a long way since my first Simplicty gowns and arguing with my sewing machine, to finishing my first hand sewn project - a small hood - last weekend and deciding to attempt a fully hand sewn dress. It's been fun for me to keep photographs of everything and be able to go back and look, so I am hoping with this blog I will be able to keep a more detailed diary of my projects.

And without any further ado, pictures! This was my VERY FIRST dress. And man, was it a struggle.

I learned when creating this dress that there are tiny little pieces called gussets which go in the armpit of the dress, that you -really- should remember to sew into your dress if you plan to do crazy things, you know, like lift your arms above your waist. Needless to say after much frustration, and getting closely acquainted with my seam ripper, the dress was complete and I was ready for my first event. I made two others that weekend from the same pattern, and they were glooooorious, or so I thought ;-)


At the end of the day they served the purpose great, and were period enough to not raise any issues at my first few events. As I spent more time in the SCA I was able to learn more about the different styles of garb, different time periods that were popular, and get some wonderful advice on sewing that it would take me years to accept as truth.

This past spring I was able to apprentice to a very talented costumer in our Kingdom of Trimaris, and I am honored to be her associate. I am very much looking forward to growing my skills and abilities, and hope to document my progress here!