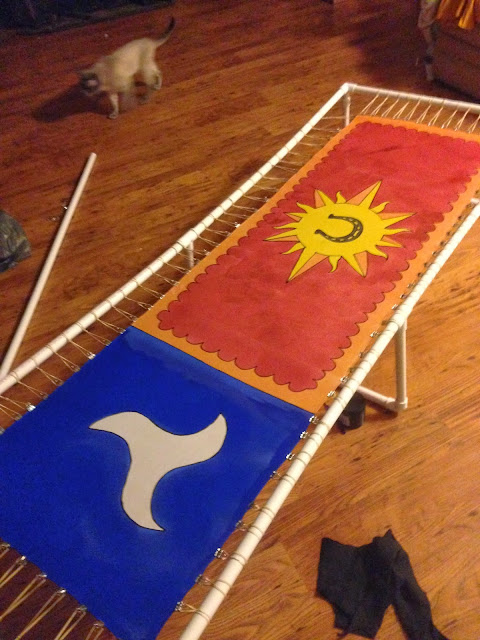
Ennelynne's Banners
So in my previous post, there was the idea, testing, drawing and painting, and finishing touches of Daniel's banner. Since then I was able to finish one for Ennelynne as well. I started out by drawing with pencil on the banner, and then tracing the design with gutta resist. For this project, as it was less busy and on a colored background, I decided to go back over the resist lines and thicken them. You can see in the photo below the thickened lines versus the thinner ones. I think it provides a much nicer and cleaner look for the entire piece. This also allowed me to straighten some of the lines where they were a bit wobbly. Drawing straight lines on stretched silk is more of a challenge than one might think!
 |
| Thickening the resist lines with a second layer |
After that, it was time to sit and let the banner dry. From start to finish it takes about an hour for the gutta to set. Since this had an extra thick layer I helped it along with a hair blow dryer on a low setting. Once it was dry, this is what you get.
 |
| Stretched silk |
Then it was time to begin painting! This particular banner was a testy piece to get painted as it had such a large area of single color. I haven't figured out a way yet to get that area to not look streaky when I paint on it, as the paint dries faster than I'm able to spread it. I had someone suggest to me that I try spritzing the whole piece with alcohol as I work on it to keep it moist, but I haven't tried that yet and don't want my first venture to be on a commissioned piece.
I was able to get the entire thing painted in one evening, but then decided I wasn't a huge fan of the red color that I used for the main body of the background. I talked to Ennelynne and we decided something closer to crimson would be more fitting, so the next morning I applied a second coat of paint in a darker color.
 |
| The initial finished piece |
 |
| After a second coat in a darker color |
 |
| Ironing banner under a towl |
I'm really excited to see these banners finished and flying in the air. I received one more commission piece for a banner that I am hoping to get finished before the event. I had to await a second shipment of dye that was delayed, but has since arrived so I am hopeful.
The last step remaining for Daniel and Ennelynne's banners is to attach the ribbons to them so that they can be attached to flag poles and displayed.
I believe for attachment I will just use plain crafting ribbon, and hand stitch it along the top and bottom edges of the banner. Depending on how that looks once it's hung (I plan to test it in the back yard!) I may add a third ribbon in the middle to allow the banner to fly straight and not curl up on itself.
Until next time!
~ E.
No comments:
Post a Comment